Shiny foil. Crispy chocolate. Squishy marshmallow. Crumbly biscuit. Teacakes. So good I had to crochet one. PDF can be downloaded from Ravelry here.

If you are also a lover of the great Scottish teacake, then you have come to the right place!
Ingredients:
To make this shiny, crispy, squishy, crumbly, crochet teacake you will need the following:

- A small amount of silvery yarn - I use Wendy Supreme Luxury Cotton DK as it has a silver thread through it which makes it look metallic like shiny foil
- A small amount of red metallic thread (I use Twilley's GoldFingering held double)
- A large wool darning needle
- A crochet hook, size 3.25mm is good
- A small amount of corrugated cardboard- I raid the cat food boxes
- A mug of hot tea (hopefully fuller than this one!) and a chocolate tea cake for inspiration and sustenance
- A wee bit of stuffing
Notes and abbreviations
This pattern is written in UK terms. But as there is only really one stitch in the pattern, simply substitute 'dc' for 'sc' to switch to US terms and you'll be on your way!ch chain
s.s slip stitch
dc double crochet (US single crochet)
2dc 2 double crochet in the same stitch (dc increase)
dc2tog double crochet 2 sts together (dc decrease). Insert hook into first dc and pull up a loop, then insert hook into second dc and pull up a loop, yarn round hook and pull through both sets of loops.
st/ sts stitch/ stiches
This pattern uses the magic/ adjustable loop method to start, which ensures a tight hole that can be closed securely. If you're not sure how to do a magic loop you can find a good video tutorial here.
In this pattern you begin each round by chaining 1, which does not count as a stitch. At the end of the round, you skip over this ch1 and s.s into the first proper st of the round.This method gives a more regular shape and size than the continuous spiral technique.
The pattern is worked in two pieces: the base and the dome. The dome is embroidered before the two parts are seamed together and stuffed.
Instructions
Base
1. Make an adjustable loop and dc 6 stitches into the loop. S.s into first stitch to join and pull tight. (6 sts)

2. Ch1. 2dc in the following st and each st around, skip the ch1 and s.s into the first st to join. (12 sts).
3. Ch1. (2dc in next st, 1dc in next st) around, skip the ch1 and s.s into the first st to join. (18 sts).
4. Ch1. (2dc in next st, 1dc in each of the next 2 sts) around,skip the ch1 and s.s into the first st to join. (24 sts).
5. Ch1. (2dc in next st, 1dc each of the next 3 sts) around, skip the ch1 and s.s into the first st to join. (30 sts).

This completes the base- fasten off and set aside.
Dome
Round 1-5: As above for base.6. Ch1.1dc in each st around (referred to as "working straight"), skip the ch1 and s.s into the first st to join. (30 sts).
7. Decrease row- Ch1. (dc2tog, 1dc in each of the following 3 sts) around,
skip the ch1 and s.s into the first st to join (24 sts).

8. Work straight for 4 more rows (ch1 and 1dc in each dc of the previous round, finishing by skipping the ch1 and s.stitching into first stitch of the round). This forms the walls of the dome.
You should have 11 rows on the domed piece. Fasten off.
Embroidering the dome
Use the placing of the rows to help you place your stitching- these provide a framework to help keep your embroidery even.
1. Start with the central star.

2. Then, using the crocheted rounds to guide you, add two circles (see below).

3. Then add some vertical lines up the sides of the dome. On a real teacake the foil is all scrunchy here so your lines should be a bit wonky and imperfect if you want it to look as realistic as possible.

Assembly/ shaping
1. Cut a circle from stiff card- it should be slightly smaller than the diameter of your base. (Use the base as a template).

2. Assemble your teacake by stuffing the top dome, holding the cardboard in place and sandwiching it closed with the base. Secure the base by stitching it in place.

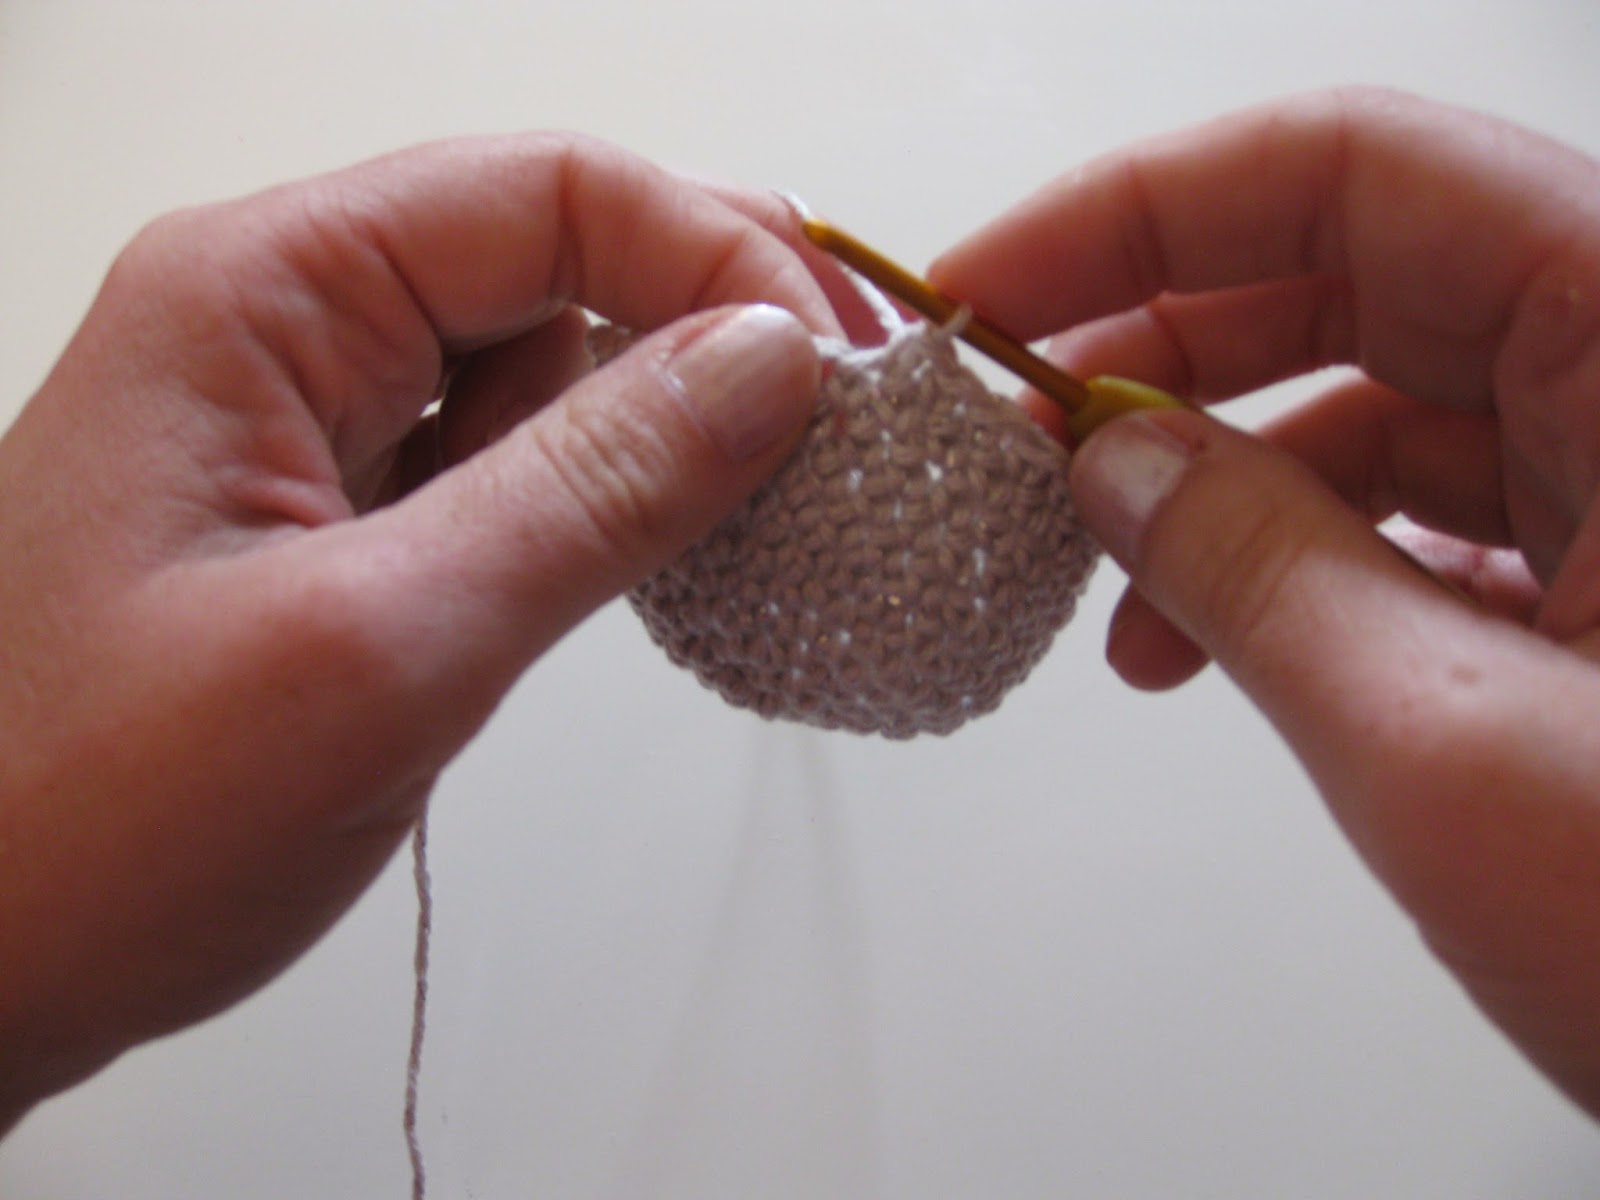
3. Give your teacake it's distinctive shape by running a line of stitches around the circumference, perpendicular to the red stitched lines (see below).

Pull on both ends of this string to tighten, this pulls the sides in to give it a proper, teacakey shape. Tie a knot and weave in the ends.

And there you have it- a crochet teacake to parade around, pretend to eat, give as a gift, use as a pin cushion, and generally enjoy without gaining a single inch on your waistline. What's not to love?
No comments:
Post a Comment